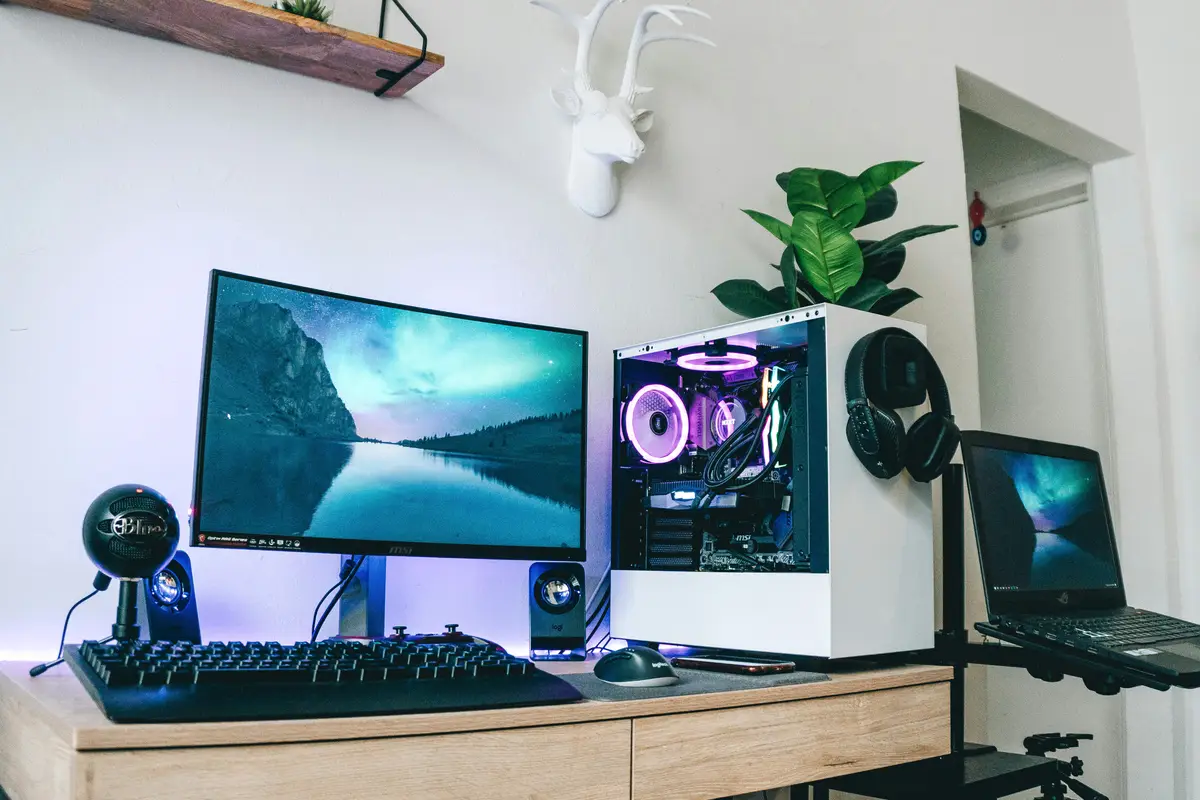
Our lathe setup for custom wheel spacers
Standard wheel spacers from a box often cause more problems than they solve for high-performance cars. We see at least 11 cars a month at our Southampton workshop where mass-produced spacers have led to wheel vibration or hub damage. Turning custom spacers on our 1982 Colchester Master lathe ensures the wheel sits perfectly flush without compromising the safety of the car.
Why mass-market spacers fail the Huracan
A client brought a 2019 Huracan in Giallo Belenus to the shop last Tuesday because of a persistent shake in the steering wheel at 82 mph. He had bought a set of 15mm spacers from a popular online tuning shop, thinking it would be a simple fix to get his wheels out to the arches. The problem was that those spacers were 0.4mm too loose on the hub centric lip. At the speeds a Lamborghini travels on the M27, that tiny gap creates a massive amount of centrifugal force that unbalances the entire front end.
We stripped the wheels off and found that the cheap aluminum used in the mass-market spacers had already started to compress under the load of the lug bolts. When you are dealing with a car that puts out over 600 horsepower, every mounting surface has to be perfectly flat and incredibly strong. Those off-the-shelf parts are often made from 6061-T0, which is the soft, un-tempered version of the metal. It simply isn't hard enough to maintain its shape under the heat and pressure of a track day or even spirited road driving in Hampshire.
Honestly, we've seen some plastic or cast spacers that shouldn't be on a lawnmower, let alone a V10 car. To fix the Huracan, we threw those parts in the scrap bin and started from scratch. We measured the actual hub diameter with our Mitutoyo digital calipers and found it was 57.08mm. The shelf-bought spacer was bored to 57.5mm. That 0.42mm difference is exactly why the steering wheel was vibrating like a pneumatic drill. We don't guess these numbers; we measure them twice before we even pick up a piece of raw material.
A 0.42mm gap on a hub centric lip is the difference between a smooth ride and a dangerous vibration at 80 mph.
Choosing the right grade of aluminum billet
For these spacers, we only use 6061-T6 aircraft-grade aluminum billet that we source from a supplier in Fareham. We buy it in 3-meter bars with a 162mm diameter to ensure we have enough meat to work with. The 'T6' part is the most important detail because it refers to the solution heat-treating and artificial aging process the metal goes through. This gives the aluminum a yield strength of about 241 MPa. In plain English, it means the spacer won't crush when you torque your wheel bolts to 140 Nm.
We spent about 38 minutes just prepping the material for the lathe. Lathe-turned precision starts with a clean cut. If the face of the billet isn't perfectly square, the spacer will be thicker on one side than the other. Even a 0.03mm variance across the face of the spacer can cause the wheel to 'wobble' as it rotates. We've seen other shops try to mill these on a CNC, but for a one-off set of four, we prefer the tactile feedback of the manual Colchester lathe. You can feel the tool bit cutting and adjust the feed rate by ear.
The weight savings of aluminum are great, but heat cycles matter more in this application. As the brakes on a Lamborghini get hot, that heat transfers directly through the hub to the spacer. Cheap alloy expands and contracts at different rates than the steel hub, which can lead to the spacer seizing onto the car. By using a specific grade of T6 aluminum, we ensure the thermal expansion is predictable. It's the same reason we use Titanium grade 2 only for certain exhaust components—because picking the right metal for the temperature is the core of good fabrication.
Setting up the 1982 Colchester Master lathe
Our Colchester Master 2500 is the heart of our metalwork section. It's an old machine from 1982, but it has been maintained better than most new cars. For the Huracan spacers, we set the spindle speed to 745 RPM. This is the sweet spot for 160mm aluminum stock when using a carbide-tipped cutting tool. If you go too fast, the aluminum starts to gum up and stick to the tool; too slow, and you get a rough finish that won't sit flush against the hub.
We use a specific Rocol cutting fluid to keep the temperature down during the 14-minute roughing pass. During this stage, we take the billet down from 162mm to the final outer diameter of 154mm. We don't just cut to a round number; we match the outer diameter of the Lamborghini's wheel mounting face. This makes the spacer invisible once the wheel is bolted on. Nobody wants to see a silver ring poking out from behind their black Vorsteiner rims. It looks sloppy and unprofessional.
The most critical part of the setup is the back pressure check on the lathe chuck. We have to make sure the billet is gripped evenly with 43 psi of pressure so it doesn't move during the heavy cuts. If the metal shifts even a hair, the center bore won't be perfectly concentric with the outer edge. For a car like a Huracan or a Ferrari 488, the tolerances are so tight that you have zero room for error. We spend more time checking the machine than we do actually cutting the metal.
The 0.02mm hub-centric challenge
The center bore is where the magic happens. On the Huracan, the hub is 57.1mm. We bore the spacer to exactly 57.12mm. That 0.02mm clearance allows the spacer to slide on smoothly but leaves no room for it to shift. Most shops would call that overkill, but we call it doing the job right. We use a boring bar with a fresh TNMG insert to get a mirror-like finish inside the hole. This prevents the spacer from corroding and sticking to the hub over time.
After the bore is finished, we have to cut the male lip on the other side. This is the part that the wheel actually sits on. It has to be an exact replica of the car's original hub. We use a radius tool to put a 1.5mm chamfer on the base of the lip. Without that chamfer, the wheel won't sit flat because most alloy wheels have a slight curve where they meet the hub. If the spacer is flat but the wheel has a curve, you'll have a 1mm gap that will eventually snap your wheel bolts.
We measured a Ferrari 812 Superfast last month that had 12mm spacers with no lip at all. The owner wondered why his car felt 'floaty' at high speeds. It's because the bolts were carrying the entire weight of the car instead of the hub. Bolts are designed to squeeze the wheel to the hub, not to hold the weight of the vehicle. By turning a precise hub-centric lip on our lathe, we ensure the car's weight is supported by the metal of the hub, exactly how the engineers in Italy intended.
Bolts are meant to squeeze, not to carry weight. A proper hub-centric lip is non-negotiable.

Anodising for the Southampton salt air
Being based on Oxford Road in Southampton means we are less than a mile from the water. The salt air here is brutal on raw metal. If we left these spacers as bare aluminum, they would start to oxidize and pit within 4 months. We send all our custom spacers to a specialist in Christchurch for a hard-anodising treatment. This adds a 23-micron thick protective layer that is harder than the aluminum itself. It also turns the spacers a subtle matte black which hides them better behind the wheels.
Before they go for coating, we drill the bolt holes. For the Huracan, we use a 5-hole pattern on a 112mm pitch circle diameter (PCD). We use a pillar drill with a 14.5mm bit to give the 14mm bolts just enough room to pass through without binding. We also countersink each hole by 2mm. This small detail makes it much easier to start the bolts by hand when you're changing a tire on the side of the road or in a cramped garage. It's these little practical touches that our clients appreciate.
The final step before the client picks them up is a deburring process. We use a hand tool to smooth out every sharp edge. It took us about 22 minutes to deburr the set of four for the Huracan. Sharp edges on metal parts are where stress cracks start to form over thousands of heat cycles. By rounding off the edges, we make the part safer and more durable. It also means you won't cut your fingers when you're trying to fit them on a cold Saturday morning.
Final fitment and the 50-mile check
When Mark brought the Huracan back for the final fitment, the process took 47 minutes. We cleaned the hubs with a wire brush and applied a very thin layer of copper grease to prevent any future seizing. The custom spacers slid on with a satisfying 'thud'—no play, no gaps. We used extended 42mm black chrome bolts to account for the extra 14mm of thickness. We always source our bolts from a certified manufacturer in Italy because we don't trust the cheap stuff found on auction sites.
We torqued the bolts in a star pattern to 142 Nm, which is slightly above the factory spec to account for the new hardware. We then took the car for a 6-mile test drive down toward the docks. The vibration that Mark had complained about at 82 mph was completely gone. The car felt planted and the wider track gave it a much more aggressive stance. Most importantly, it was safe. We told him to come back after 50 miles so we could re-check the torque on every bolt.
The total cost for the project was £340, which included the material, the lathe work, the drilling, and the anodising. Compared to the £120 he spent on the vibrating parts from the internet, it's a significant jump. But for a car worth over £150,000, saving £200 on a critical suspension component is a bad trade. At Tecnologico Meze, we don't do 'cheap'— we do parts that fit perfectly the first time and last for the life of the car.